Do you own a Harley-Davidson bike and are looking to learn the right way to pull off a smooth burnout? If yes, then you are certainly in the right place.
To do a burnout on a Harley, press the front brake firmly, rev the engine, and slowly release the clutch while maintaining throttle control. This will cause the rear tire to spin. Be cautious, as burnouts can cause tire wear and clutch damage.
In this article, you will get to know all about burnouts, how to burnout on a Harley-Davidson bike, the science behind pulling off a burnout, and more. Stick around to get all the answers that you are looking for.
What is a burnout?
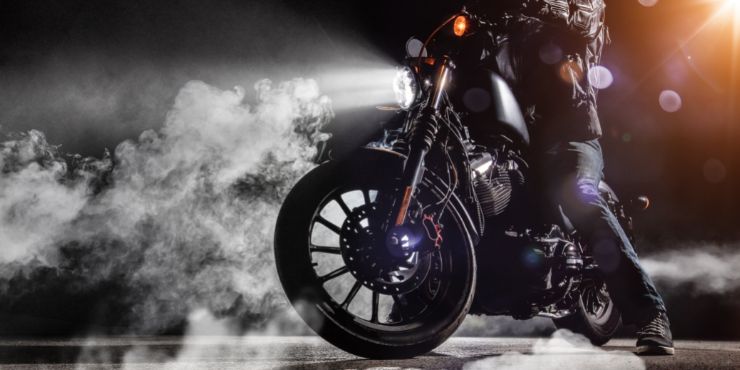
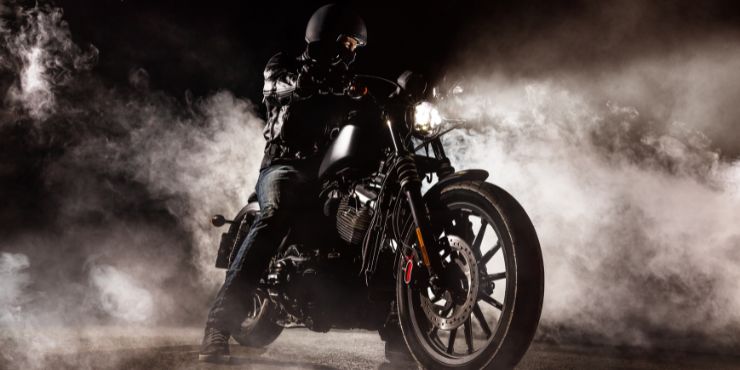
A burnout or commonly referred to as peeling out is the practice of keeping your motorcycle stationary and spinning its wheels while causing the tires to heat up and start smoking due to friction. If you’re looking to learn how to burnout on a Harley, this article will be of great help to you. For pulling off a burnout, you should have a strong stance on the ground with one foot to help stabilize yourself. Put your bike in a low gear and keep the bike revved to a medium-high level. With your other foot, you should press down on the brake pedal firmly. This will make your bike’s tires overheat and produce smoke.
Repeat the entire process until the desired effect has been accomplished or if you feel that you’ve done enough. It will be a great way of showing off how to do a burnout on a bike to your friends. However, ensure that you are doing things safely and know exactly what you’re doing before attempting it.
How to burnout on a Harley-Davidson bike
1. Stand with your feet flat on the ground
In order to prevent the tires from building traction, put minimal weight on your Harley-Davidson motorcycle by standing over it without your feet pressing flat on the ground. If the tire develops too much traction, the bike will lunge forward or backward or end up doing a wheelie when you’re attempting a burnout. This is extremely dangerous.
2. Start your bike and keep it in the neutral gear
Starting your bike in neutral gear will help you avoid gaining traction while you’re attempting a burnout. If you’ve clutched the bike, release the clutch slowly such that it doesn’t jerk off the ground suddenly.
Check your Harley’s motorcycle gauge for confirming that the engine has warmed up to the correct operating temperature. If your bike is cold, it’ll be tougher to do a burnout and the engine might stall.
3. Pull the bike’s clutch lever completely
When you’re ready to pull off a burnout on a bike, pull the clutch all the way in such that the transmission is completely disengaged. It’ll help keep the engine RPMs high while making it easier to a burnout.
4. Keep a tight grip on the clutch lever
Ensure that you’re maintaining a tight grip on the clutch lever when you’re pulling off a burnout on a bike. In case the lever pops out of your hand, you’ll lose engine power and might need to start the entire process all over again. If the clutch is on the right handlebar, the engine is using four fingers and not a closed fist. This will make the task easier while reducing hand fatigue. It’ll allow you to spend a lot more time performing burnout on your bike. This way, you’ll be able to learn how to do burnouts on a bike properly.
5. Hold the front brake with the middle finger
You should apply the front brake and then accelerate the engine throttle with your right hand’s middle finger. Use your left hand for engaging the clutch such that the bike won’t lurch forward.
If the throttle of your bike is on the left, use the index and middle finger of your left hand for applying the brake and throttle respectively. Until the burnout is complete, hold on to the front brake with all four fingers.
6. Put your bike in first gear
It’s important to understand the right use of the gear shift pedal to put your bike in first gear. Use your foot for clicking the gear shift pedal such that the bike shifts into the first gear. Keep the clutch engaged using your left hand such that the bike remains stationary and doesn’t shift into gear.
7. Rev up the engine
With the brake pedal still pressed, rev up the engine using your right hand by twisting the throttle. Remember to keep your foot on the brake such that your bike doesn’t move.
Make sure that you’re keeping an eye on the RPM gauge. This will allow you to ensure that you’re spinning the rear wheel at the correct speed. Rev up the engine to 75% of the red line to get the best results. Too much revving might cause the engine to stall, or the tires might blow out. Revving up the engine will be important before shifting gears. It’ll ensure that your bike has enough power to move.
8. Shift the weight off the rear tire
Keep your feet flat on the ground while ensuring that you’re standing very stable. Lean forward slightly to take off the weight from the rear tire for ensuring that all your weight isn’t pressing down on it.
9. Release the clutch for performing the burnout
When you’re leaning forward, your weight will be shifted off the rear tire. After that, once you’ve got the correct RPMs, release the clutch slowly. As your bike starts moving, keep your right foot on the brake such that it doesn’t move too far.

If done properly, your bike will start sliding and smoke will be created as the rear tire spins out. If you feel that you’ve lost control, apply the brake quickly to regain stability.
10. End the burnout
To properly end your burnout, you should pull the lever with your left hand for engaging the clutch and shift into neutral. Keep the brake engaged at all times, while you’re using your right hand for rolling out the throttle to slowly bring the RPMs back down.
Once your bike has stopped moving, you should release the brake and shift into first gear for completing the process. That’s it, you’ve performed a burnout on your Harley-Davidson bike.
Tips to keep in mind when you’re pulling off a burnout
If you’re a biker, you’ll know how cool and exciting it is to pull off a burnout and become proficient at it. However, there are certain things that you must keep in mind not just for the effectiveness of the burnout but for your safety as well. Here are a few tips that you must keep in mind when trying to pull off a burnout on your Harley-Davidson motorcycle –
- Any Harley-Davison bike will do, but having more power certainly helps
- Switch to first gear for best results
- You shouldn’t start at full throttle
- Get a proper feel for the brakes for comfortable burnouts
- Always practice in an open field to prevent any injuries to yourself and others
- Once you’ve become an expert at traditional burnouts, switch to rolling burnouts
- Having a fit body will make it easier to pull off a burnout
The anatomy behind a motorcycle burnout
One of the most important parts of a motorcycle burnout is the engine that makes the smoke clouds possible. There’s a specific criterion for a strong engine. It must create a lot of torque for obvious reasons, while also maintaining responsiveness such that the driver can control the bike’s movement around the pad. Moreover, you should be able to keep it off the wall through modulation of the throttle.
Having a large capacity Harley-Davidson engine is a massive boost to your burnout attempts. The heat generated within a few minutes will be great enough for warming up your bike and pulling off a clean workout. Moving around to the specifics, the clutch and brake are the defining aspects of a motorcycle burnout. As far as the suspension goes, a motorcycle shares a lot of the technology from the drag racing world.
The last piece of the puzzle will be the design of the bike. Although the design is not that important, the inclusions of upgraded gauges, a streamlined design, and seats certainly help. The only thing left for you to do will be to get your bike out, put on a helmet and a biker outfit, and start trying your hand at burnouts.
Conclusion
Thank you for reading. Hopefully, now you know a lot more about burnouts, how to burnout on a Harley-Davidson bike, the science behind pulling off a burnout, and more. Burnout on a Harley-Davidson bike is easy and slick, as long as you know the right way to execute one. A burnout involves putting your Harley in low gear and pressing down on the brake pedal firmly while keeping it revved to a medium-high level. This makes the tires overheat and produce smoke.

