Are you ready to learn how to service the rear brakes on your Harley Road King?
To change rear brake pads on a Road King, remove the rear caliper bolts to slide off the caliper, remove the old pads, insert new ones, and reinstall the caliper. Torque the bolts according to specifications.
This step-by-step guide will walk you through the process of replacing your rear brake pads, giving you the confidence to tackle this basic maintenance task. With the right tools and a little know-how, you’ll have your brakes back in working order in no time! So read on, and get ready to get your hands dirty!
Role of rear brake pads on a Harley-Davidson Road King
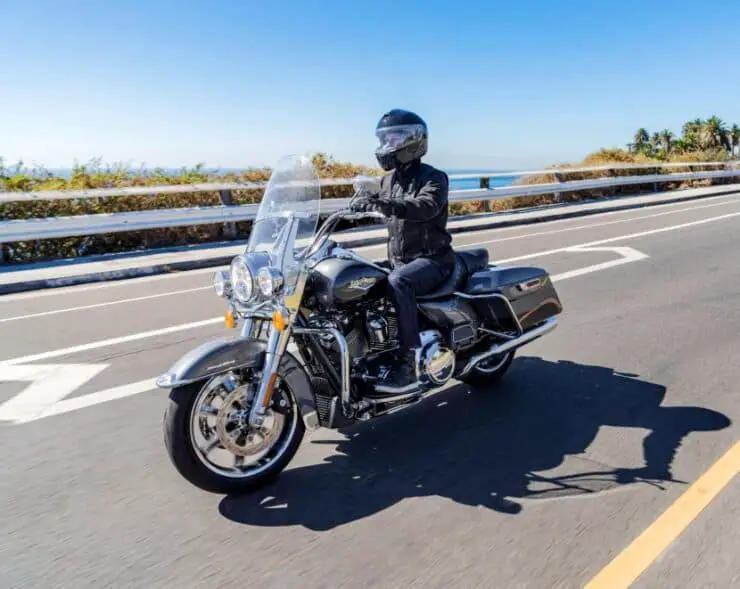
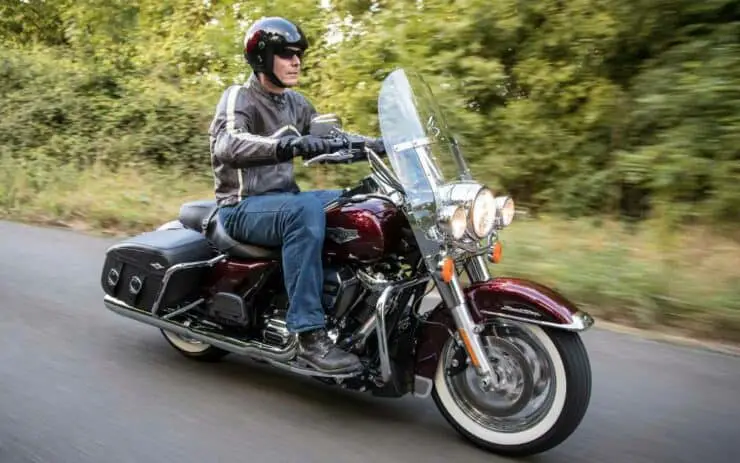
The Harley-Davidson Road King is a legendary bike known for its powerful performance, comfortable ride, and classic design. One key component responsible for ensuring safe braking is the rear brake pads. Rear brake pads are important friction components located within the rear brake caliper assembly of a Harley-Davidson Road King. Composed of friction material bonded to a metal backing plate, they’re designed to create the necessary friction against the brake rotor when the rider applies the rear brake lever or pedal. The frictional contact converts the kinetic energy of the rotating rotor into thermal energy, resulting in deceleration and ultimately bringing the bike to a stop.
The rear brake pads play a significant role in the overall braking system of a Harley-Davidson Road King. It plays a role in offering braking power, control, stability, and parking brake functionality.
The rear brake pads and the rear brake rotor are responsible for generating braking power at the rear wheel. When the biker applies the rear brake lever or pedal, hydraulic pressure gets exerted on the brake caliper, causing the brake pads to squeeze against the motor. This frictional control creates the needed resistance to slow down the bike and contribute to its overall braking performance.
While the majority of the stopping power on a bike is provided by the front brake pads, the rear brake plays a key role in maintaining control and stability, especially during certain riding situations. The rear brake pads, when engaged properly, help in distributing braking forces more evenly between the front and rear wheels. This enhances stability and prevents the rear wheel from lifting off the ground during aggressive or emergency braking situations.
On some Road King models, the rear brake lever serves as a barking brake. By engaging the lever and applying pressure to the rear brake pads, bikers can secure their bike in a parked position, preventing unintended movement when parked on inclines or uneven surfaces. The rear brake pads play a key role in maintaining the parked position until the lever is released.
For ensuring optimal braking performance and safety, it is important to regularly inspect and maintain the rear brake pads on your Road King. Routine maintenance will include monitoring pad wear, checking for signs of damage or uneven wear, and replacing the brake pads as needed. It is important to use high-quality OEM or recommended aftermarket brake pads that are designed specifically for the Road King model to maintain performance and reliability.

Tools needed for changing brake pads
Maintaining your Harley-Davidson Road King’s braking system will be important for optimal safety and performance. When it is time to replace the rear brake pads, having the right tools at your disposal will make the task much more efficient and hassle-free. Here are some of the essential tools needed for changing the rear brake pads on your Harley-Davidson Road King, ensuring a smooth and successful change.
#1. Socket wrench set
A comprehensive socket wrench set will be important for removing various volts and fasteners involved in accessing and replacing the rear brake pads. You should look for a set that includes both metric and standard sizes for accommodating different-sized nuts and bolts on your bike.
#2. Torque wrench
A torque wrench is important for tightening bolts to the manufacturer’s recommended specifications. It helps ensure proper fastening without overtightening or undertightening, which can affect the performance and safety of the brake system. You should check the bike’s owner’s manual for the specific torque settings for your Road King’s rear brake pad components.
#3. Allen wrench set
Harley-Davidson bikes typically use Allen bolts in their brake systems. An Allen wrench set or also known as a hex key set is needed for loosening or tightening the bolts. Look for a set with a variety of sizes for accommodating different Allen bolt sizes on your Harley-Davidson Road King.
#4. C-Clamp or Brake Piston Compressor tool
When replacing the rear brake pads, it’ll be important to push the brake piston back into the caliper to accommodate the new, thicker pads. A C-clamp or brake piston compressor tool will be needed to apply even pressure and compress the piston smoothly. This tool will allow for proper clearance when installing the new brake pads.
#5. Brake cleaner
A brake cleaner is important for cleaning the brake components before installing new brake pads. It removes any dirt, debris, and brake dust, ensuring optimal contact between the new pads and the rotor. Choose a brake cleaner specifically formulated for brake systems and safe for use on Harley-Davidson bikes.
#6. Gloves and safety glasses
Wearing gloves and safety glasses will be important for protecting your hands and eyes during the rear brake pad change. Gloves will prevent direct contact with brake dust and potentially harmful chemicals. Meanwhile, safety glasses will shield your eyes from debris or brake cleaner spray.

Preparation for rear brake pads change
Changing the rear brake pads on your Road King from time to time is important for optimal braking performance and rider safety. Before you delve deep into the rear brake pad changing process, you will need to take certain preparation steps to carry out the change seamlessly and safely. Here are the necessary preparation steps you will need for preparing your Road King for rear brake pads change.
Parking the bike
To ensure stability and prevent accidental movements, you must park your Harley-Davidson Road King on a level surface. First, you should find a flat and stable area. Locate a level surface like a garage floor or solid pavement where your bike can be securely parked.
Then, you should engage the front wheel chock. If your Harley-Davidson Road King comes equipped with a front wheel chock, you should engage it by carefully rolling the front wheel into the chock. Make sure that it is positioned securely. Lastly, deploy a kickstand on the left side of the bike. Make sure it is fully engaged and provides sturdy support to the bike.
Jacking the bike
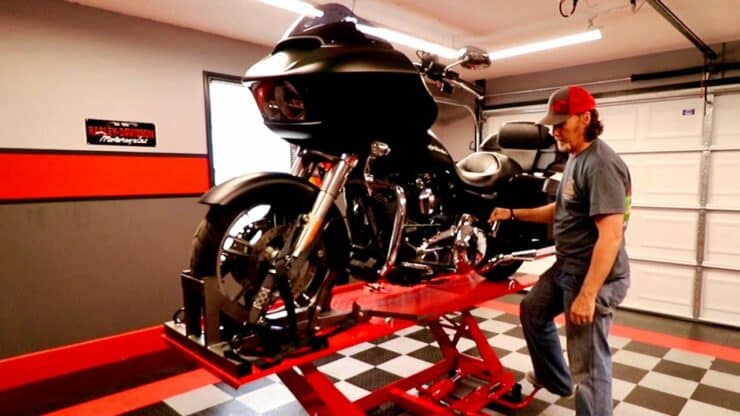
Jacking up the bike properly will allow for easy access to the rear brake components. Make sure you’re following the steps for jacking up your Road King like choosing the ideal motorcycle jack, positioning the jack, and lifting the bike.
First, you should select a motorcycle jack that is capable of securely lifting the weight of the Road King. Hydraulic or scissor-style jacks are commonly used for this purpose. You must carefully position the jack under the frame or designated lifting points. Make sure that you are referring to your bike’s owner’s manual for the recommended lifting points.
Using the jack’s handle or foot pump, slowly and steadily raise the bike until the rear wheel is slightly off the ground. Make sure that the bike is stable and securely supported before proceeding with brake pad replacement.
How to change rear brake pads on a Harley Road King: Removing the old pads
As a part of regular maintenance, it is important to replace worn or damaged brake pads on your Harley-Davidson Road King to maintain optimal braking performance and rider safety. Here are the steps needed to follow for removing the old rear brake pads on your Road King. Following these steps will help you remove the rear brake pads smoothly and within a matter of minutes.
Step 1: Removing the caliper bolts
For accessing the rear brake pads on your Harley-Davidson Road King, you will have to remove the caliper bolts first. To do that, you will need to follow steps like loosening the caliper bolts and removing the caliper bolts.
First, you will have to loosen the caliper bolts on the rear brake caliper assembly. With the help of appropriate tools, you will have to carefully loosen the caliper bolts by turning them counterclockwise. Be mindful that you do not strip the bolts or damage the surrounding components.
Once loosened, you should completely remove the caliper bolts from the caliper assembly. Keep them in a safe place for easy reinstallation later.
Step 2: Removing the rear brake pads
After removing the caliper bolts, you will be able to proceed with removing the old rear brake pads. For that, you will need to slide the brake pads and inspect the brake pad hardware.
You should gently pull the brake pads out of the caliper assembly. In certain cases, the brake pads might be secured by retaining clips or pins. If so, you should carefully remove these retaining clips or pins before sliding out the brake pads.
Then, you must take note of the position and orientation of the brake pads as you remove them. This will help ensure the proper installation of new brake pads later. When the old pads are removed, you should inspect the brake pad hardware, including the retaining pins, clips, and any shims or springs. If needed, you should replace any damaged or worn hardware.
Step 3: Inspect the rotors
Once the old brake pads are removed, it will be the ideal time to inspect the conditions of the rotors. You must carefully examine the surface of the rotors for any signs of wear, scoring, or uneven thickness. You must look for any grooves, cracks, or deep scratches that could end up compromising the braking performance.
Make use of a micrometer or a brake rotor thickness gauge for measuring the rotor thickness. Compare the measurements to the manufacturer’s recommended minimum thickness specifications. If the rotor thickness is below the minimum requirements or shows significant wear, it might have to be resurfaced or replaced.
If the rotors are in good condition, make use of a clean cloth or shop towel for wiping away any brake dust or debris. Make sure that the rotor surfaces are clean and free from any contaminants before proceeding with brake pad installation.
How to change rear brake pads on a Harley Road King: Install the new pads
Installing new rear brake pads on your Road King will be the next major step when changing the brake pads. This is significant for regular maintenance and must be carried out regularly. Here are the steps you will need to follow for installing new rear brake pads on your Harley-Davidson Road King to ensure proper fit and functionality.
Step 1: Securing the new rear brake pads
Properly securing the new brake pads will be important for optimal performance and safe operation. To do that, you’ll need to clean the caliper and pad contact surfaces, apply brake grease, position the news, and secure the pads.
Before you install the new rear brake pads, you should clean the caliper and pad contact surfaces using a clean cloth or shop towel. You should make sure that all surfaces are clean from dirt, debris, and brake dust. If recommended by the manufacturer, you must apply a thin layer of brake grease to the backside of the new brake pads. This will help reduce noise and vibration and ensure smooth operation.
Then, you must carefully position the new brake pads into the caliper assembly, aligning them with the pad contact points. Make sure that they fit snugly and are oriented correctly based on your notes from the old brake pads’ removal.
If your Road King makes use of retaining clips or pins, you should reinsert them for securing the brake pads in place. Double-check that the pads are securely held in the caliper assembly.
Step 2: Installing the caliper bolts
Proper installation of the caliper bolts will be important for ensuring the caliper assembly remains securely fastened. For that, you will need to retrieve the caliper bolts, insert the caliper bolts, and tighten the bolts.
First, you must retrieve the caliper bolts that were removed previously, ensuring they are clean and undamaged. Align the caliper assembly within the brake pads and carefully insert the caliper bolts into the respective positions. Now, start threading the bolts by hand to avoid cross-threading.
Make use of a torque wrench or an appropriate wrench/socket for tightening the caliper bolts to the manufacturer’s recommended torque specifications. You must refer to your bike’s service manual for the specific torque values.
Step 3: Adjusting the rear brake pads
Proper adjustment of the rear brake pads will ensure even and consistent contact with the rotor. For that, you need to check the brake pad alignment, test the brake lever, and pump the brake lever.
Visually inspect the rear brake pads to ensure they are evenly aligned with the rotor. Make note of any necessary adjustments to ensure the pads are centered and have equal clearance on both sides of the rotor.
Before riding the bike, you must test the brake lever or pedal travel. Make sure that there is an appropriate amount of play or free movement before the pads engage the rotor. If needed, you should adjust the brake lever/pedal travel following your Road King’s owner’s manual guidelines.
Once you have completed the installation, you should gently pump the brake lever or pedal to ensure proper engagement and reset the brake system. This will help ensure the new brake pads are seated properly against the rotor.
Test the new rear brake pads after the change
Once you have installed the new rear brake pads on your Road King, it’ll be important to perform comprehensive tests to ensure it performs safely and efficiently. Here are the steps to follow for testing the new rear brake pads on your bike. Once you have tested the brake pads, you will be able to evaluate the braking performance under real-world conditions.
Road Test
Taking your Harley-Davidson bike for a road test will allow you to easily evaluate the braking performance under real-world conditions. First, you need to select a safe and controlled environment, such as an empty parking lot or a quiet road, to perform the road test.
Gradually, you should apply the brakes using the rear brake lever starting with light pressure. You must observe how your bike responds and assess the initial braking performance.
Gradually increase the brake force by applying firmer pressure on the rear brake lever. Pay close attention to how the bike decelerates and whether the brake pads engage smoothly and without excessive noise or vibration.
Perform a few controlled emergency stops from different speeds for evaluating the responsiveness and effectiveness of the new brake pads. Make sure that the bike comes to a quick and controlled stop without any unusual vibrations or noises.
After the road test, you must inspect the brake pads for any signs of abnormal wear patterns. The pads need to wear evenly and make full contact with the rotor surface.
Brake lever test
Conducting a brake lever test will allow you to assess the functionality and responsiveness of the rear brake system. First, you should ensure proper lever play. Check that there is an appropriate amount of free play or initial movement in the rear brake lever before the brake pads engage. You need to consult your Road King’s owner’s manual for the recommended lever play specifications.
Apply the rear brake lever gradually and progressively. Observe how the lever feels and if it engages smoothly or if there are any abnormal sensations, such as resistance, sponginess, or excessive play.
Pay close attention to the responsiveness of the rear brake system. The brake lever should ideally offer a firm and consistent feel, allowing for precise control of braking force. Release the brake lever and ensure it returns smoothly to its resting smoothly to its quick and repeatable braking actions.

Tire test
Assessing the tire grip and traction under braking conditions will be important for evaluating the effectiveness of the changed rear brake pads. For that, you need to perform controlled stops, observe tire behavior, and check for tire damage.
Initiate controlled stops on different road surfaces and conditions, such as dry pavement or slightly wet roads for evaluating the traction and grip of the rear tire during braking.
Pay close attention to the rear tire’s ability to maintain traction during braking. Make sure there is no skidding, sliding, or loss of control that could indicate insufficient brake pad performance or improper adjustment.
After the tire tests, you must inspect the rear tire for any signs of abnormal wear, damage, or flat spots. The tire must maintain a consistent and even tread pattern.
Also read: Uncovering What Makes Harley-Davidson Unique
FAQs
What tools do I need to change the rear brake pads on a Harley Road King?
To change the rear brake pads on a Harley Road King, you will need a few basic tools, including a screwdriver, an adjustable wrench, a hex bit socket, and brake pad removal tool. You may also need a pair of pliers and a rag for cleaning the area.
How difficult is it to change the rear brake pads on a Harley Road King?
Changing the rear brake pads on a Harley Road King is a relatively straightforward process as long as you have the right tools and follow the instructions in the owner’s manual. It can take a few hours to complete, depending on your experience level.
Should I take my Harley Road King to a mechanic to have the rear brake pads changed?
It is not necessary to take your Harley Road King to a mechanic to have the rear brake pads changed, as the process is relatively straightforward. However, if you are not confident in your ability to do the job, it may be better to seek the help of a professional.

