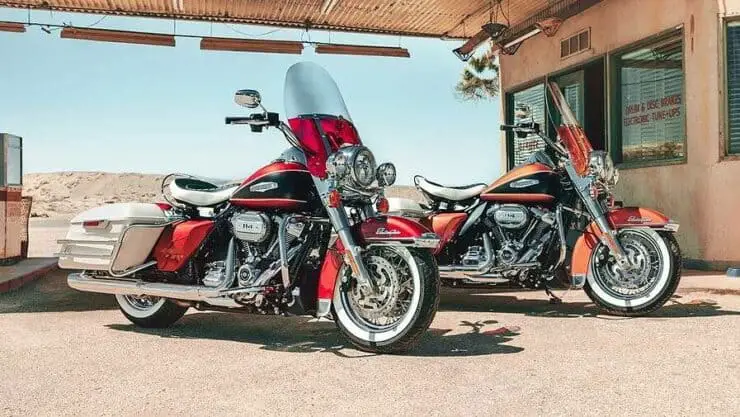
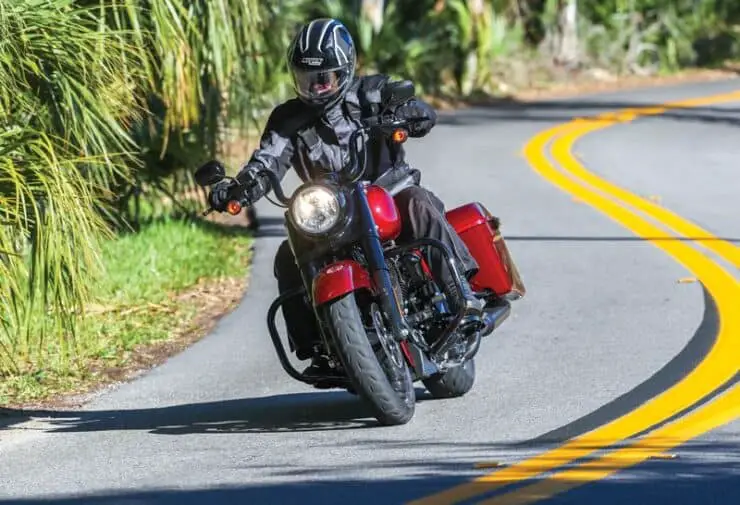
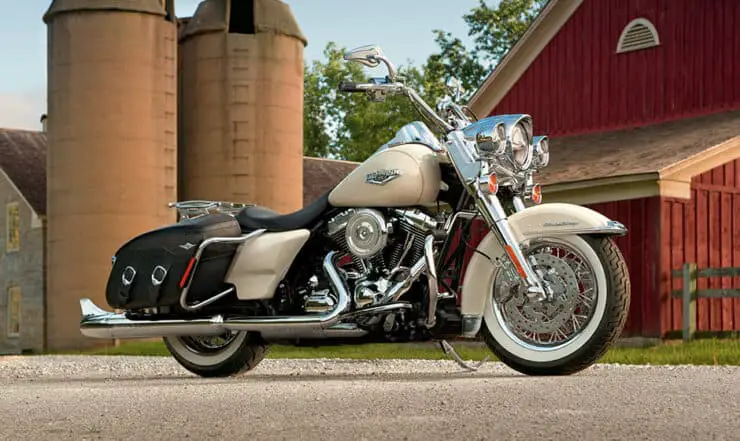
Are you interested in lowering your Harley-Davidson Road King Classic? Don’t worry, you don’t need to be a motorcycle mechanic to do so.
To lower a Road King Classic, you can install shorter rear shocks or a lowering kit for the front forks. Adjust the suspension for proper ride quality and ensure adequate ground clearance.
In this article, we will guide you through the process of lowering your Road King Classic with 7 easy steps. So, if you’re ready, let’s get started and learn how to lower your Harley-Davidson Road King Classic.
Prerequisites for Lowering a Road King Classic
Lowering a motorcycle can greatly enhance its aesthetics, improving handling, and offering a more comfortable riding experience. If you own a Harley-Davidson Road King Classic and you’re considering lowering it, it’ll be important that you know the basics of lowering the bike. Further, you also need to know the right parts, tools and supplies, and safety considerations to keep in mind before you start the lowering process.
Tools and equipment needed
Lowering a Harley-Davidson Road King Classic involves adjusting its suspension system for reducing the ride height. It is important that you research and consult with experts or mechanics so that you can ensure compatibility to choose the right parts for your specific bike model.
To lower your Road King Classic, you will require the following equipment –
#1. Lowering kit
A lowering kit is the most common method used for decreasing the ride heat. It will typically include shorter rear shock absorbers and fork springs, which allow you to achieve a balanced lower stance.
#2. Lowering blocks
These metal or aluminum blocks are placed between the rear suspension and the frame for reducing the overall height. They are an affordable alternative to a complete lowering kit but they might slightly affect the suspension’s performance.
#3. Adjustable suspension
There are aftermarket manufacturers that offer adjustable suspension systems that allow you to easily customize the ride height. These systems often provide more flexibility but they could be more expensive than other options.
#4. Basic tools
A set of basic tools such as wrenches, sockets, and screwdrivers will be needed for removing and installing various components.
#5. Hydraulic lift or stand
Having a hydraulic lift or a sturdy motorcycle stand will be needed for elevating your motorcycle securely during the modification process. This will give you better access to the components and ensure your safety.
#6. Torque wrench
A torque wrench will be needed for tightening bolts and fasteners to the manufacturer’s recommended specifications. This helps in preventing overtightening or damaging components.

Safety considerations
Remember to prioritize safety throughout the entire lowering process. You should be wearing appropriate safety gear that is DOT-approved. Make sure that the motorcycle is securely supported and stable before you work on it.
Remember to follow the manufacturer’s instructions and recommended torque specifications when installing components. Double-check all connections and fasteners for ensuring that they are properly tightened. If you take these safety precautions, it will minimize the risk of accidents or injuries during the modification process.
Lowering the Road King Classic will require careful attention to detail in terms of safety considerations. Here are the vital points to remember –
#1. Skill level
Modifying the suspension system of a bike will require mechanical knowledge and skills. If you aren’t confident in your abilities, it is advisable that you consult a professional mechanic who specializes in motorcycle modifications.
#2. Protective gear
You must wear appropriate protective gear, including a DOT-approved helmet, boots, gloves, and protective clothing. Safety must be your top priority.
#3. Stability and handling
Lowering your bike can affect its stability and handling characteristics. Be prepared for any potential changes in cornering clearance, ground clearance, and suspension performance. Take time to adjust and adapt to the modified ride.
How to lower a Road King Classic?
Lowering a Harley-Davidson Road King Classic involves adjusting various components for achieving a lower ride height. Before you start lowering the bike, you will first want to remove the rear wheel and shock absorbers. Once you do that, then you can lower your bike before reinstalling everything you removed. By following this step-by-step guide, you’ll be able to complete this task successfully and enjoy tremendous results. Here are the steps you should follow to lower your Road King Classic.
Step 1: Elevate and stabilize the motorcycle
Using a hydraulic lift or a sturdy motorcycle stand, you must elevate your Harley-Davidson Road King Classic to provide better access to the rear wheel and shock absorbers. Make sure that your bike is stable and securely supported before proceeding.
Step 2: Remove the rear wheel
- Loosen the axle nut on the rear wheel with an appropriate socket or wrench, noting the torque specification, and loosen the nut gradually
- Loosen the brake caliper bolts or pins, allowing the caliper to move freely
- Then, you should pull the brake caliper away from the rotor and secure it using a suitable method for preventing tension on the brake line
- Slide the axle out of the wheel, carefully removing any spacers or washers along with it
- With both hands, you must hold the wheel on each side and slide it out from the rear fender
- Ensure that it clears the brake caliper and fender struts and make sure you don’t damage the wheel or any other components during this process

Step 3: Remove the shock absorbers
- Locate the upper shock mounting bolt at the rear of the frame as it’ll typically be secured by a nut on the top of the shock
- Use an appropriate socket or wrench to loosen and remove the nut and bolt, holding the shock absorber in place
- Move to the lower mounting point of the shock absorber, usually connected to the swingarm or frame
- Then, you should loosen and remove the lower mounting bolt using an appropriate socket or wrench
- You should carefully slide the shock absorber out of the mounting points, taking note of any spacers or washers that might be present
Step 4: Inspect and store removed components
Once you have removed the rear wheel and shock absorbers, you must take time to inspect them for any signs of damage or wear. Clean and store them in a safe place as you might have to reinstall them later or replace them with the modified components.
Step 5: Install lowering blocks
- Locate the rear suspension mounting points on your bike’s frame
- Make sure that the lowering blocks are aligned properly with the mounting points
- The blocks must be positioned between the frame and the rear suspension
- Insert the lowering blocks and align them with the mounting points
- You must insert the mounting bolts through the blocks and tighten them securely, ensuring proper torque
- Double-check the alignment and tightness of the lowering blocks for making sure they are securely in place
Step 6: Install new shock absorbers
- Position the new shock absorbers at the upper and lower mounting points, aligning them with the mounting holes on the motorcycle frame and swingarm
- Now, you should insert the mounting bolts through the shock absorber and the mounting points
- Tighten the bolts securely with the help of an appropriate wrench or socket
- Follow the torque specifications offered by the manufacturer
- Repeat this process for the other shock absorber
- Double-check the tightness of the mounting bolts for ensuring that the shock absorbers are securely installed
Step 7: Reinstall the rear wheel
- Carefully align the rear wheel with the bike’s rear axle, ensuring the brake rotor is correctly positioned
- Slide the wheel into place, ensuring that it clears the brake caliper and fender struts
- Reinsert any spacers or washers that were installed originally with the wheel
- Insert the axle through the wheel and align it with the axle mounts on the swingarm
- Tighten the axle nut gradually and evenly by following the torque specifications provided by the manufacturer
- Reinstall the brake caliper and secure it in place using the appropriate bolts or pins
- Double-check the alignment of the wheel, caliper, and brake rotor to ensure proper installation
#4. Test and adjust
Once the lowering modifications are complete, you must thoroughly inspect your Road King Classic and test it in a controlled environment before you take it to the open roads. Pay close attention to any changes in handling, braking, comfort, and overall stability. It is possible that some adjustments might be needed for achieving the desired balance. Experiment with suspension settings, tire pressure, and other variables for fine-tuning the modifications and ensuring the best performance.
Tips to make lowering the Harley-Davidson Road King Classic easier
When you have to lower your Road King Classic, it will require careful consideration of different components and modifications. To make the lowering process easier and more effective, you will need to use every possible tip and trick in the book. By following certain tips, you’ll be able to achieve a lower ride height while maintaining comfort and improving overall aesthetics.
#1. Choose the right lowering blocks
Lowering the blocks is a popular method to reduce the ride height of the bike. When selecting lowering blocks for your Road King Classic, you must keep numerous factors in mind like compatibility, quality and material, and adjustable height.
Make sure that the lowering blocks are designed specifically for your Harley model. You must take into account any variations in suspension geometry or frame design. Consult with experts or manufacturers for ensuring compatibility.
Some lowering block kits offer adjustable height options. This flexibility will allow you to fine-tune the ride height to your preference and achieve the desired balance between aesthetics and functionality.
Moreover, you must opt for lowering blocks made from high-quality materials such as durable metal or aluminum. This will ensure longevity and reliability as well as minimize any potential negative impacts on suspension performance.
#2. Replace front fork springs
Replacing the front fork springs will be another effective way of lowering your Harley-Davidson Road King Classic. There are certain considerations to take including spring rate, progressive springs, and suspension setup.
You need to choose front fork springs with a lower spring rate than the stock springs. Lowering spring rates will provide a softer ride, especially if you encounter uneven road surfaces. However, you must be mindful that too long of a spring rate can negatively affect handling and bottom out the forks under heavy loads.
You must consider using progressive springs, which offer a dual-rate design. Progressive springs offer a softer initial compression, which makes the ride more comfortable while becoming stiffer as the fork compresses further to maintain stability during aggressive maneuvers. To optimize the performance of your lowered front fork, you must consider adjusting the preload and damping settings. Consult the manufacturer’s recommendations or seek the help of a professional to ensure proper setup.
#3. Install a lower-profile seat
Swapping the Road King Classic’s stock seat for a lower profile seat will be a practical way of reducing seat height and improving comfort. You must look for seats that are specifically designed for lowering purposes as they offer a reduced seat height while maintaining adequate comfort and support. Testimonials and reviews from other bikers can provide insights into the comfort and fit of different seat options.
Pay close attention to the padding thickness and material used in the seat construction. Finding a seat with the right balance of support and comfort will be important for long rides. You must consider how the lower profile seat affects your riding position and posture. Make sure that the seat allows for proper leg extension and does not cause discomfort or strain during extended rides.
#4. Carry out thorough research and preparation
Before you start lowering your Road King Classic, you must conduct thorough research and gather as much information as possible about lowering the Road King Classic. You should familiarize yourself with different methods, tools, and techniques in play. This will ensure that you’ve got a better understanding of the process, potential challenges, and suitable solutions. You should consult online forums and user manuals or seek advice from experienced enthusiasts to gather insights and tips specific to your bike.
#5. Seek professional assistance
If you aren’t sure or uncomfortable performing the modifications yourself, you should consider going for professional assistance. Consulting a skilled mechanic or a reputable customization shop will provide valuable expertise and ensure that the lowering process is done safely and correctly. Professionals can also recommend the most suitable components and offer guidance throughout the entire process. A professional will give you valuable insights, and recommend suitable parts and techniques while guiding you through the process based on their expertise and firsthand experience. Further, consulting with professionals will also help you make well-informed decisions and avoid potential pitfalls.
#6. Consider suspension adjustability
When you are lowering your Road King Classic, you must consider using components that offer adjustability. This will allow you to fine-tune the ride height and suspension settings to match your preference and riding style. Adjustable lowering kits, shocks, and forks will provide flexibility and the ability to customize your bike’s lowered stance according to your specific needs.
#7. Consider compatibility and fitment
When losing your Harley-Davidson Road King Classic, it’ll be vital that you ensure that the components you’ve chosen are compatible with your specific motorcycle model. Different years and versions of the Road King Classic might have variations in suspension systems, frame geometry, and other specifications. Therefore, you must carefully check the compatibility of the lowering kit, blocks, or adjustable suspensions before you make the purchase.
#8. Budgeting and cost analysis
Lowering your Road King Classic involves certain expenses including the cost of the lowering kit or other components, installation charges, and any additional tools or equipment needed. You should consider your budget and evaluate the overall cost involved in the modification. This will help you plan accordingly and avoid financial surprises along the way.

Troubleshoot common lowering issues
Lowering a motorcycle such as the Harley-Davidson Road King Classic will bring about various benefits, including aesthetics and enhanced handling. However, it isn’t uncommon to encounter issues during the lowering process. There are various issues involved with lowering blocks, shock absorbers, and more that can cause you trouble. By identifying and rectifying these issues, you will be able to ensure a successful lowering modification.
#1. Incorrectly installed lowering blocks
Lowering blocks that are improperly installed could result in instability, compromised suspension performance, and safety hazards. To resolve this issue, you can carry out fixes like checking the alignment, torquing the bolts properly, and verifying compatibility.
Verify that the lowering blocks have been aligned correctly with the mounting points on the motorcycle frame. Misalignment could affect the suspension geometry and result in handling issues. You must realign and secure the blocks as needed.
Make sure that the bolts securing the lowering blocks are tightened to the manufacturer’s recommended torque specifications. Insufficient torque can result in loose components whereas excessive torque might damage the mounting points or the blocks themselves.
You should confirm that the lowering blocks are perfectly compatible with your Road King Classic model. Incompatible blocks can cause interference with other components, affecting the overall function and safety of the bike. Consult with the manufacturer or a trusted professional for guidance if necessary.
#2. Uneven shock absorber height
Uneven shock absorber height could negatively impact your Road King Classic’s stability and handling. This can result in an uncomfortable ride and reduced performance. To resolve that, you need to inspect the installation and adjust preload settings.
You must check the mounting points of the shock absorbers. Make sure that they are securely fastened and aligned properly. Loose or misaligned shock absorbers could result in uneven height and compromise performance. If your bike has adjustable shock absorbers, you must verify that the preload settings are balanced on both sides. Adjust the preload as needed to achieve even compression and rebound.
If you aren’t able to resolve the issue on your own, you should seek advice from suspension experts or professionals. They will be able to provide guidance on proper adjustment techniques or recommend suitable replacement components if necessary.
#3. Poorly installed shock absorbers
Improper installation of shock absorbers could result in reduced suspension performance, compromised safety, and potential damage to other components. The best way of troubleshooting this situation would be to double-check the installation steps, verify correct fitment, or look for professional assistance.
You need to review the installation process outlined in the manufacturer’s instructions or service manual. Make sure that you have followed all the steps correctly, including tightening bolts to the recommended torque specifications and using appropriate tools.
Confirm that the shock absorbers you have installed are compatible with your bike. Mismatched components can result in poor performance, excessive wear, or structural damage. If necessary, you should consult with the manufacturer or a trusted professional to verify fitment.
If you are not sure about the installation or encounter persistent issues, you should consider seeking professional assistance. A skilled motorcycle mechanic or customization specialist will be able to assess the installation, identify any errors, and provide the needed adjustments or replacements.
Also read: The High Cost of Owning a Harley-Davidson
FAQs
What is the best way to lower a Road King Classic?
The best way to lower a Road King Classic is to install a lowering kit. Lowering kits are available for most Harley Davidson models and include replacement shocks, fork springs, and other components designed to reduce the suspension height of the bike. It is important to make sure the kit is compatible with your Road King Classic model before installing it.
What are the benefits of lowering a Road King Classic?
Lowering a Road King Classic can provide several benefits, including improved handling and cornering, as well as a lower center of gravity for increased stability. Lowering the bike can also make it easier to mount and dismount, making it a great choice for shorter riders.
What should I consider when installing a lowering kit on a Road King Classic?
When installing a lowering kit on a Road King Classic, it is important to consider the ride height, suspension travel, and clearance of the bike. It is also important to make sure the kit is compatible with your model and to check the installation instructions carefully. If you are unsure of the installation process, it is best to consult a professional mechanic.

